DIY Shelving for Compact Kitchens: A Step-by-Step Approach
Learn how to install floating shelves above counters and corners. Covers wall preparation, bracket selection, and spacing for maximum efficiency.

Why Floating Shelves Work in Small Kitchens
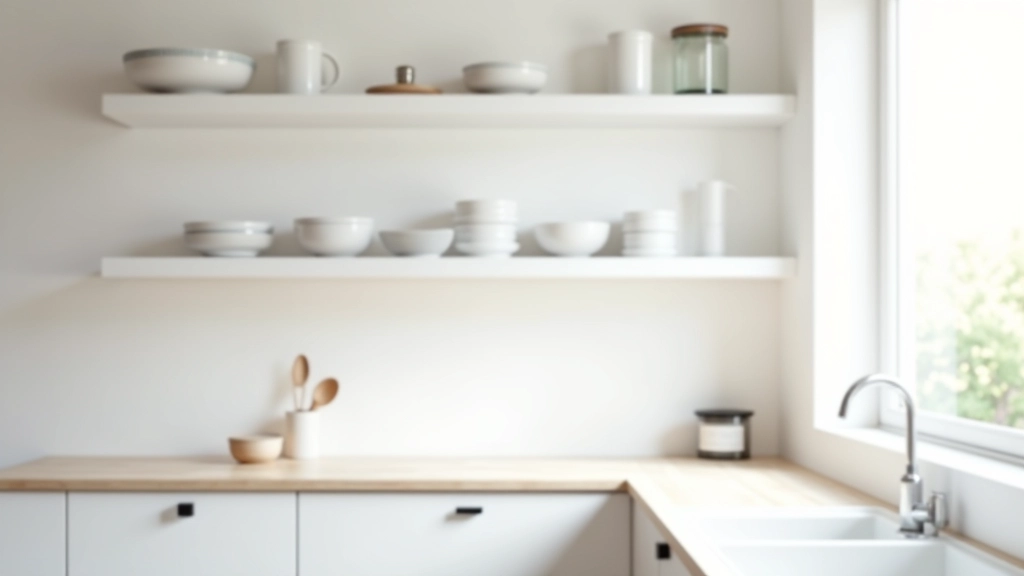
Small kitchens don't need to feel cramped. That's the truth we've learned after helping hundreds of Latvian homeowners reclaim their counter space. Floating shelves aren't just stylish — they're genuinely practical. You'll open up sightlines, add storage without eating into cabinet real estate, and suddenly your kitchen feels bigger.
Here's what we're talking about: instead of bulky wall units or upper cabinets that make the space feel heavy, floating shelves give you vertical storage that looks intentional. Plus, you can access your everyday items — oils, spices, coffee — without reaching into dark cabinet corners.
Preparing Your Wall: The Foundation Matters
Wall prep isn't glamorous, but it's everything. We're not exaggerating — this step determines whether your shelves will hold strong for years or slowly sag after a few months. You'll need to locate the wall studs first. A stud finder costs about 15-25 euros and honestly, it's worth every cent.
Find the studs, mark them with a pencil, then measure your shelf placement. We recommend positioning shelves about 40-45 centimeters apart (that's roughly 16-18 inches). This spacing gives you room for dishes and larger items without wasting vertical real estate.
Pro tip:
Mark everything with a level. Shelves that tilt even slightly will drive you crazy — and items will slide. Take your time here. Five minutes with a level beats regret later.
Installation: The Step-by-Step Process
1
Mount the brackets
Drill pilot holes into the studs you marked. Use 8mm anchors for drywall-only areas. Insert the brackets and tighten with a wrench — firm but not so tight you crack anything.
2
Check alignment
Use your level again. Both brackets must be perfectly horizontal. This is where most mistakes happen — don't skip it.
3
Slide the shelf onto brackets
Most floating shelves have a slot or channel underneath that slides over the brackets. Slide it on carefully and test the stability by pressing down gently.
4
Secure with set screws
Some shelf systems include set screws that lock the shelf to the brackets. Tighten these so the shelf can't shift. This takes about 2 minutes but prevents future wobbling.
What You'll Actually Need
Don't overthink the shopping list. You probably have half of these already if you've done any home projects before. Here's the reality: budget around 80-120 euros per shelf, depending on wood quality and bracket style.
Floating shelf brackets
Steel or stainless steel. Look for weight capacity of at least 25kg per pair. You'll find them at Depo or Mēbeļu centrs for 20-40 euros.
Wood or engineered board
Solid oak or birch looks best but costs more. Engineered board works fine for 30-50 euros. Cut to your desired length — most hardware stores offer this service.
Wall anchors and screws
If you're not hitting studs, use heavy-duty wall anchors. They're 5-8 euros per pack and actually work when installed correctly.
Tools
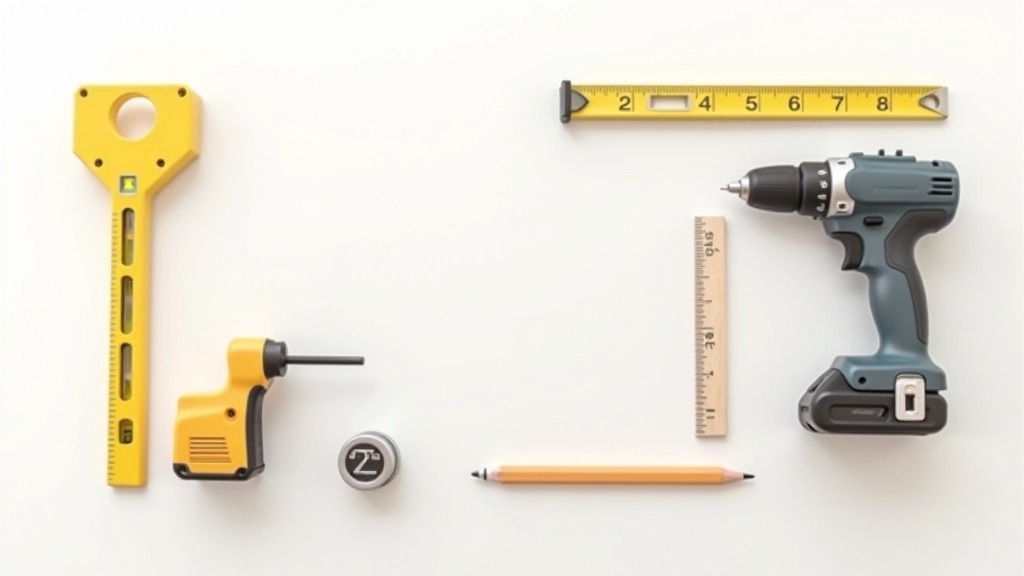
You'll need a drill, spirit level, stud finder, tape measure, and pencil. Borrow from a friend if you don't own these yet.
Making Your Shelves Look Intentional
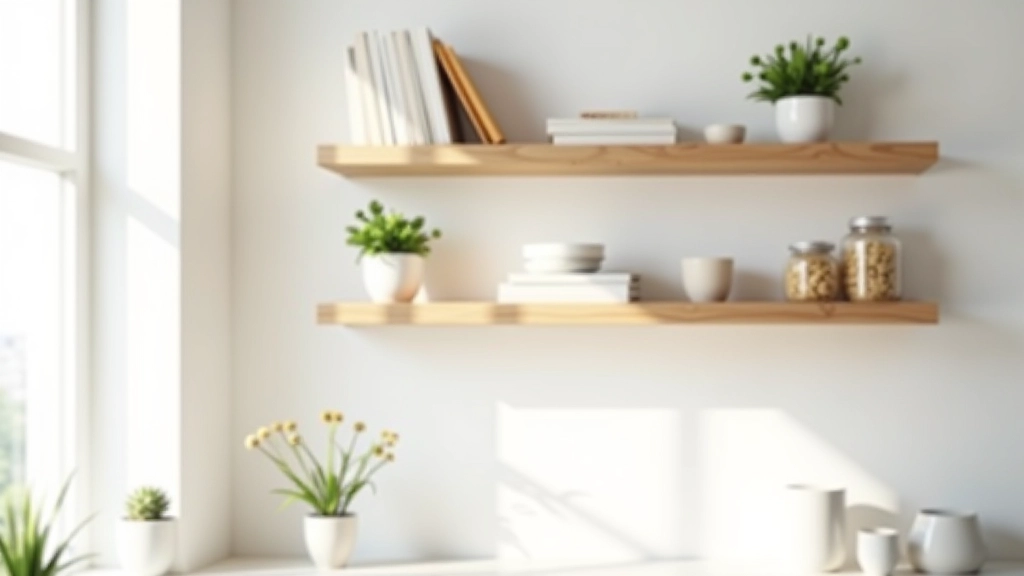
Once your shelves are installed and stable, styling them properly transforms how your kitchen feels. Don't just cram stuff on there. That's not storage — that's clutter pretending to be organized.
Group items by height and color. Stand cookbooks upright if you have them, lay a few flat on top for visual interest. Leave breathing room — empty space is your friend. A plant on one shelf, matching jars on another, and suddenly you've got a kitchen that looks like you know what you're doing.
Rotate items seasonally too. What looks good in spring might feel heavy in winter. We're serious about this — small changes keep your space feeling fresh without adding cost.
Ready to Add Your Shelves?
DIY floating shelves aren't as intimidating as they sound. We've walked through every step: preparing your wall, choosing the right brackets, installing securely, and styling beautifully. Most people complete this project in an afternoon. You'll open up your kitchen space and gain functional storage without major renovations.
Start with one shelf if you're nervous. Get comfortable with the process. Then add another. Before long, you'll have a kitchen that feels spacious and organized — without the price tag of a full remodel.
Explore more storage solutions for compact spaces
Browse all storage guidesDisclaimer
This guide is educational and informational only. While these techniques are based on common practices used by DIY enthusiasts across Latvia, actual installation methods may vary depending on your specific wall type, kitchen layout, and building materials. Always follow the manufacturer's instructions for brackets and fasteners. If you're unsure about wall integrity or structural concerns, consult a professional. We're not responsible for installation issues or property damage resulting from DIY projects.
Related storage guides